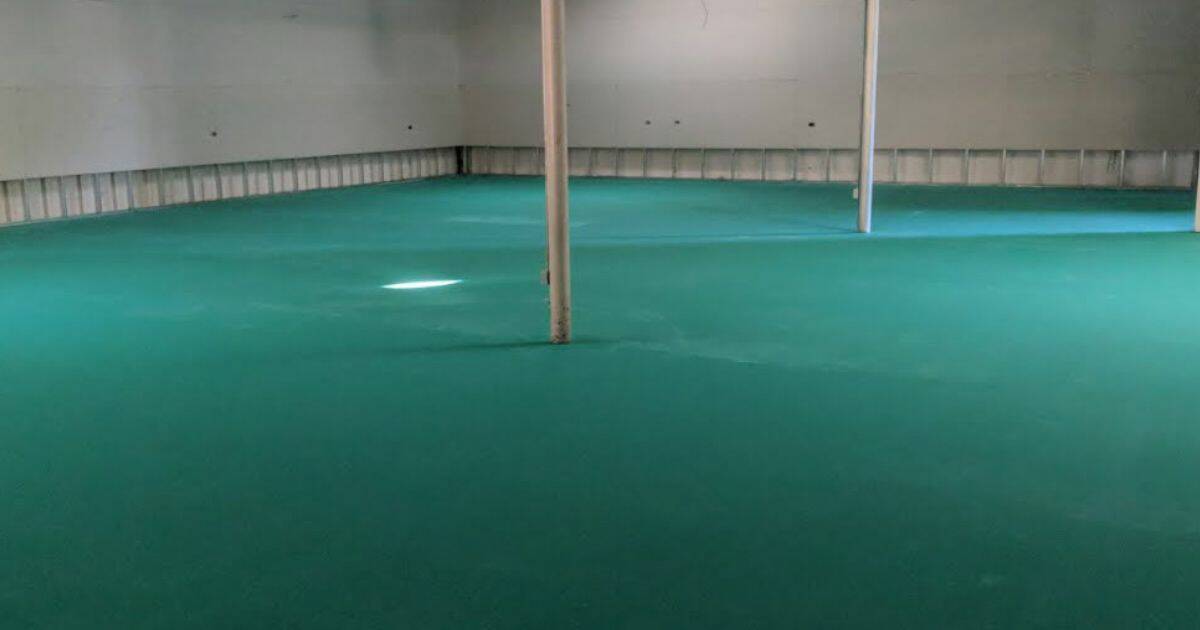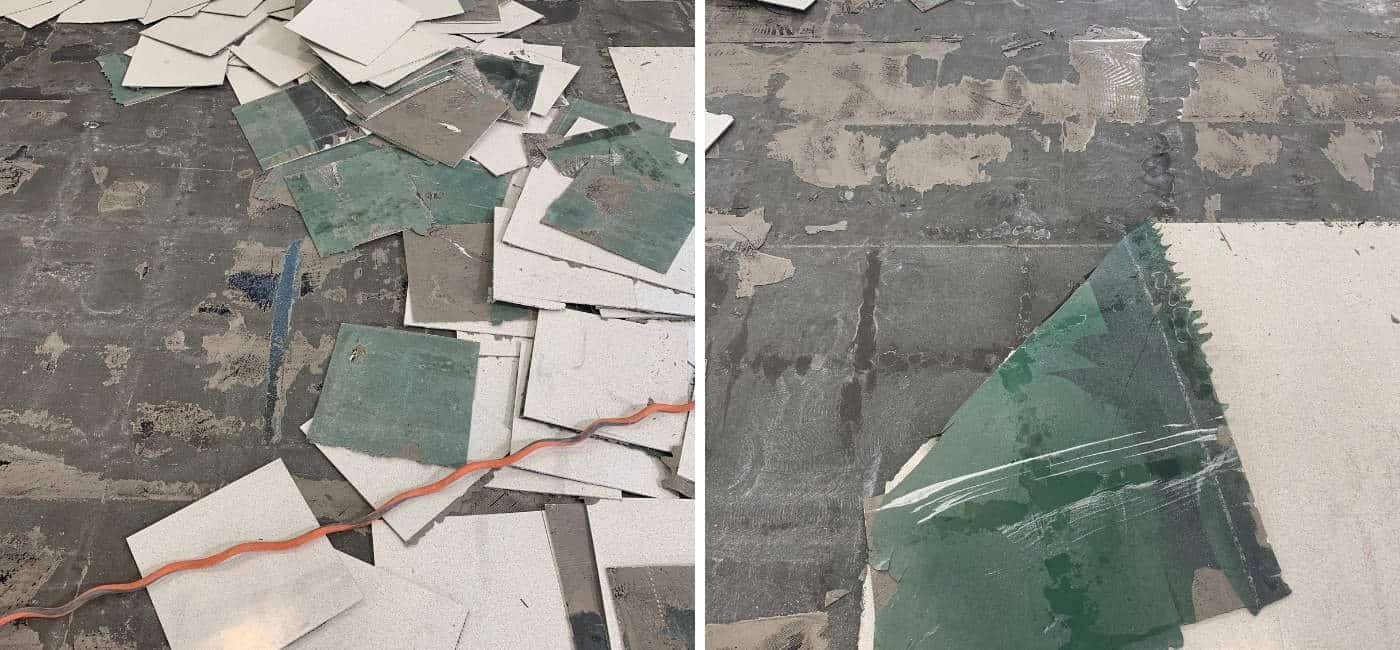
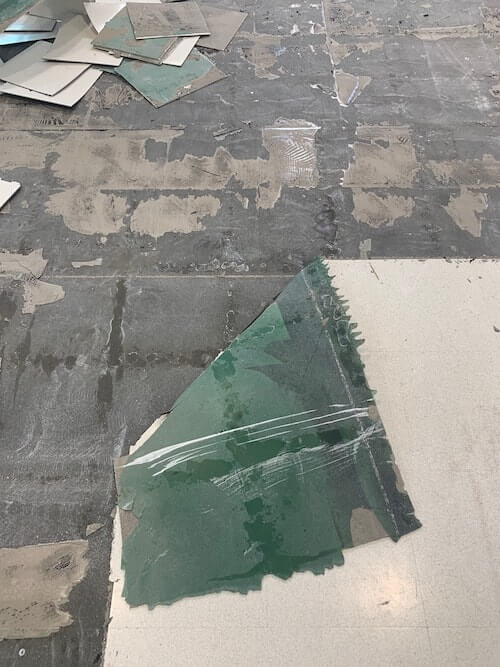
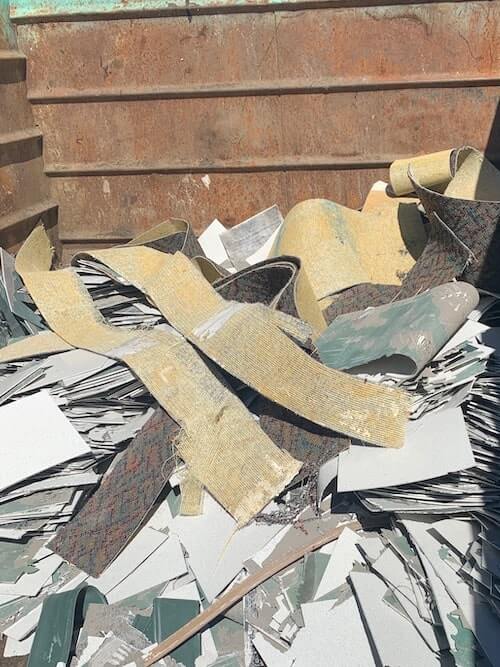
Concrete contamination and inadequate floor prep prior to installing the epoxy vapor barrier resulted in an improper bond. ESD vinyl tiles peeled easily from the floor, with the vapor barrier attached to the tile backing.
Before installing an ESD floor, it’s crucial to be sure the subfloor has been properly prepped.
The GIST: Ensuring a Successful ESD Flooring Installation
- An improperly installed vapor barrier will not adhere to the subfloor.
- When the bond between vapor barrier and subfloor fails, the tiles will lift.
- Ensuring a strong bond requires due diligence:
- Take a core sample
- Perform a bond test
- Investigate type of building construction
- With a good bond, the tiles will not lift – even with a chisel.
- Get the tile manufacturer involved.
Key point: The flooring supplier should be consulted prior to the start of installations to advise on due diligence – including site analysis, possible core sampling and bond testing – and to be sure the tiles are installed properly.
Case Study: Part One – Improperly Prepped Floor
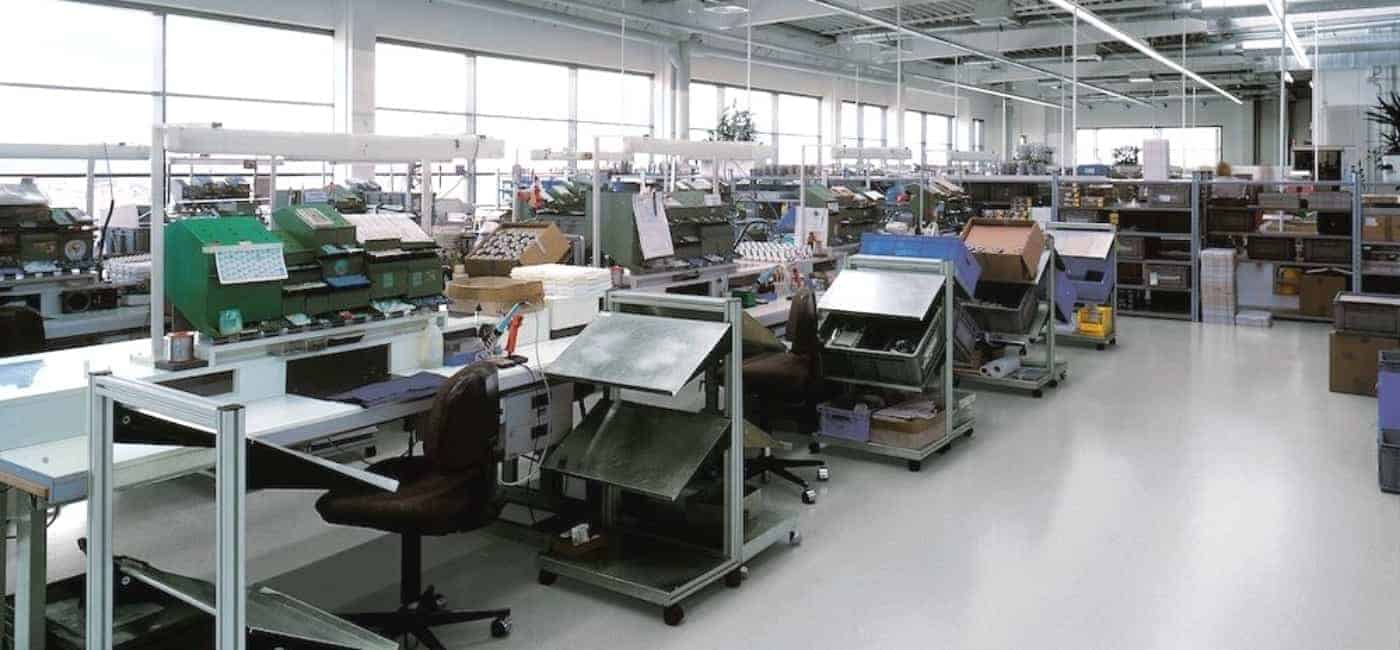
StaticWorx was called to investigate failing ESD vinyl tiles in an electronics manufacturing facility in Southern California. The installer had neglected to perform adequate floor prep before installing an epoxy vapor barrier. As a result, the vapor barrier did not adhere to the concrete subfloor and the tiles lifted.
Test the Concrete Before Installing a Vapor Barrier.
The facility in question had been built using tilt-up construction. The chemical bond used in this type of construction can contaminate the concrete subfloor. Without core samples, there was no way to know how deeply the chemical had penetrated the concrete or how to properly profile (etch or score) the concrete subfloor before installing the vapor barrier.

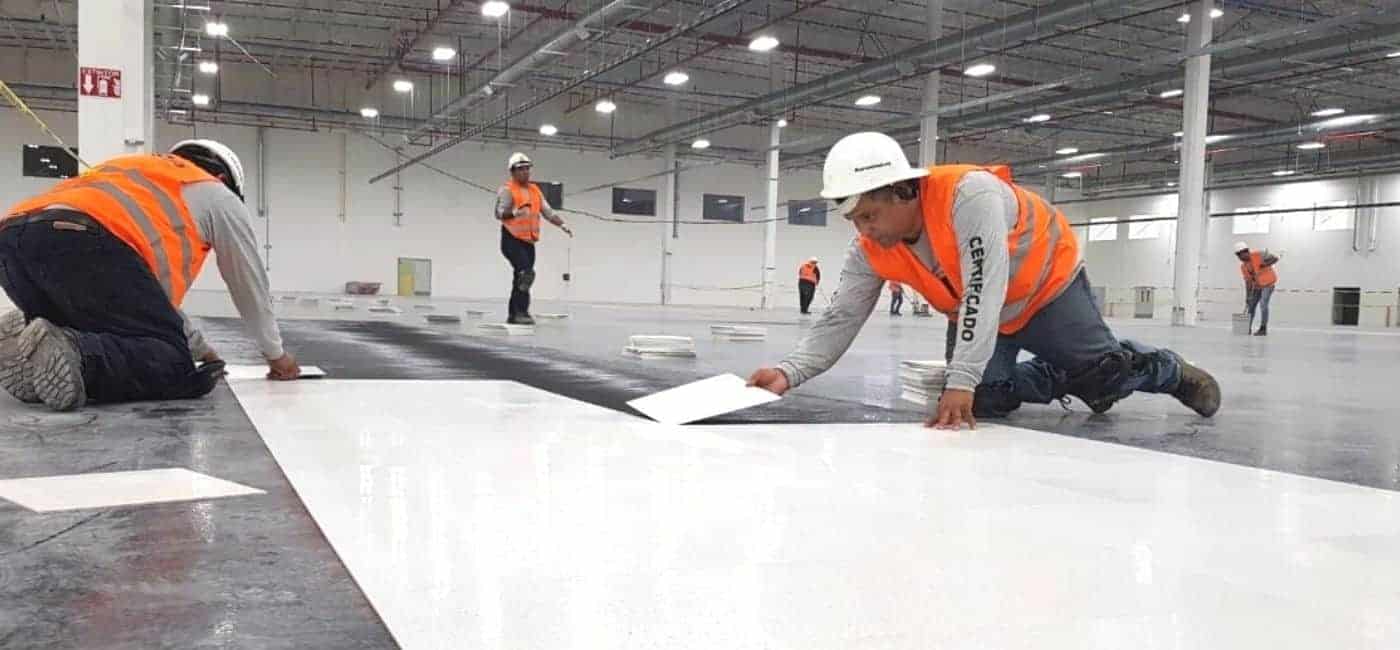
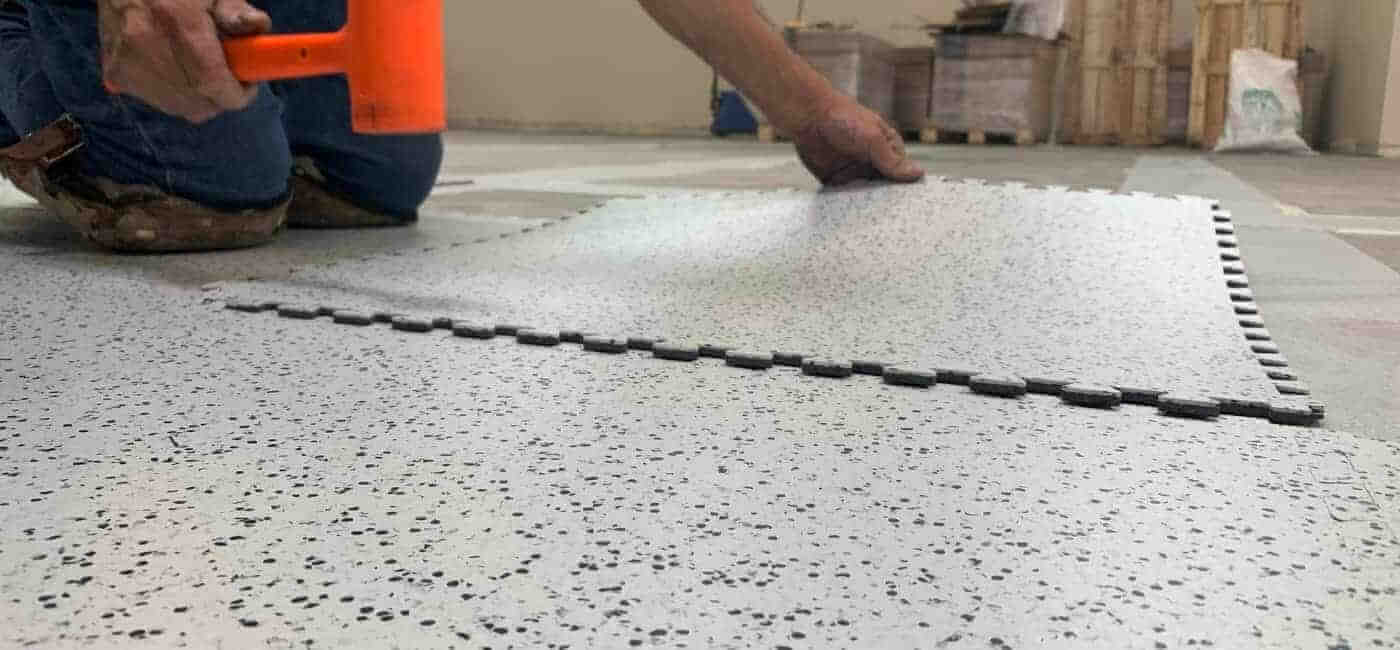
Part Two – A Properly Prepped Floor
Why a Chisel?
In the first video, a machine lifts the tile. Could a machine have removed the tiles in the second video just as easily? The answer is no. Why? Because the tile is so well adhered that the machine would have rolled right across it. A chisel – and a lot of brute force – was the only way to remove the ESD tile.
Removing an inadequately prepped floor can add significantly to the cost of an ESD flooring installation.
Read more about Hidden Costs of ESD Flooring

Due Diligence Helps to Ensure a Successful ESD Flooring Installation
Before installing an ESD floor it’s crucial to be sure the subfloor has been properly prepped. These steps will help to ensure your installation is a success:
- investigate the type of construction
- chemicals used in construction can contaminate the concrete
- take a core sample to determine the depth of contamination
- bond test to gauge proper surface profile.