Dave: Welcome to Static Talks. I’m your host, Dave Long, founder and president of StaticWorx. We make static control flooring. And our podcasts we’ll discuss the threat static electricity poses to your business and how to address these risks.
The reason I want to talk about adhesives today is so when you’re evaluating the cost of an ESD floor, one of the things you need to add into your evaluation is what will it actually cost for labor to install it. And one of the major factors with labor is the type of adhesive that will be used.
Reason that’s a big deal is different adhesives dry faster or more slowly. Some of them can be completely dry before you place a tile, some of them – because they’re often dark in color, almost black – if you put down too much adhesive, and it’s a wet set adhesive. When you roll the tiles on the floor, some of that adhesive is going ooze through the seams, which means you’re going to be cleaning adhesive at the same time as you’re installing your floor.
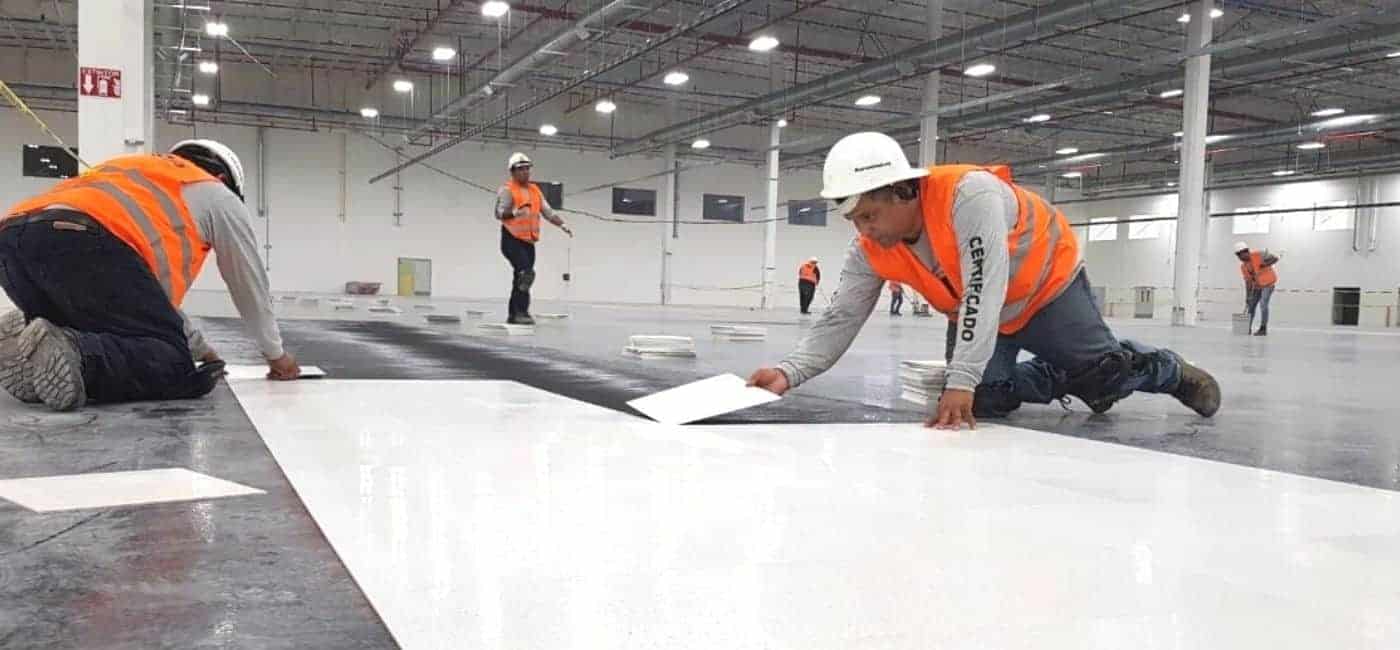
Let’s go through these adhesives – there’s four of them. And we’ll see how they impact the cost of a project. Let’s start with ESD epoxy adhesives. I’m not talking about an epoxy coating, that when it dries, you walk on it. I’m talking about an adhesive that has a Part A and Part B, that needs to be mixed. So right away, you’ve got an extra process, when you’re using ESP epoxy.
You’ve got to open up a can or a bucket or a pail. And you have to add a second ingredient to it that’s called the catalyst. And then using what looks almost like a like a large electric drill with a mixer on the end of it, you mix that adhesive, and typically most adhesive manufacturers will tell you to do that for two to three minutes.
So now you’ve taken two to three minutes to mix this adhesive. The next thing is because it’s an epoxy, and because of the catalyst, it has a certain amount of time before it’s going to harden. When I say harden, what I’m actually saying is if you left it in the bucket for an hour, it would be a solid, massive black carbon-loaded epoxy. So, this adhesive gets applied on the floor with a trowel. And immediately you place tiles into the adhesive, and you roll those tiles with a 100-pound roller. The reason you roll them is to make sure that the bottom of the tiles makes contact, full contact, with the adhesive. While the weight of the roller – if the floor has any kind of unevenness to it, the weight of the roller is going to basically push the adhesive in such a way that if there’s any break between two tiles – which there always is when you’re installing – some of that adhesive is going to come up through the seams. That means it’s going to get on the tiles, it’s going to get on the width of the tiles. If they’re not pushed together tightly, when it dries, you’ll see it; it’s going to get on the roller, which means that every time you push the roller further, as soon as that same contact point makes full circle and touches the floor you’re going to leave a deposit of epoxy. So, when you look at using an ESD epoxy, you need to think about am I going to be spending more money on labor, due to things I can’t control?
Rick: Okay, so a two-part epoxy adhesive requires some time to mix the two components. And then the clock starts ticking meaning if the mixture is not applied within a certain timeframe, it will become unusable. On top of that, this type of adhesive is subject to messy seepage issues, further complicating the installation by requiring cleanup. This sounds like a real challenge for the installers. What other options are there for adhesives?
Dave: Second type of adhesive is an acrylic conductive adhesive. These are one part so they don’t need to be mixed. However, unlike epoxy, you can’t necessarily place tile on them right away after you apply the adhesive, because they require a certain amount of exposure to air in order to dry. So the difficulty with acrylic adhesives is monitoring and understanding the window of opportunity when it’s time to put tile down and when it’s too late to put tile down.
So far, we’ve talked about epoxy and acrylic. I just want to go back to epoxy for a second. A good efficient installer can probably install about 600, maybe 800 square, feet of flooring per day with an epoxy. That number will bump up to about 800 to 1000 with acrylic adhesive, because obviously they’re not mixing it, it’s a little bit easier to work with.
Rick: All right, so acrylic adhesive does not require mixing, but it does have to partially cure before laying tile down on it. So again, there’s a limited window of opportunity to get the job done properly. But on the upside acrylic adhesive is a little bit easier to work with than epoxy adhesive, which can potentially reduce the overall installation time and therefore reduce the cost of labor by up to 33%. What is the next type of adhesive?
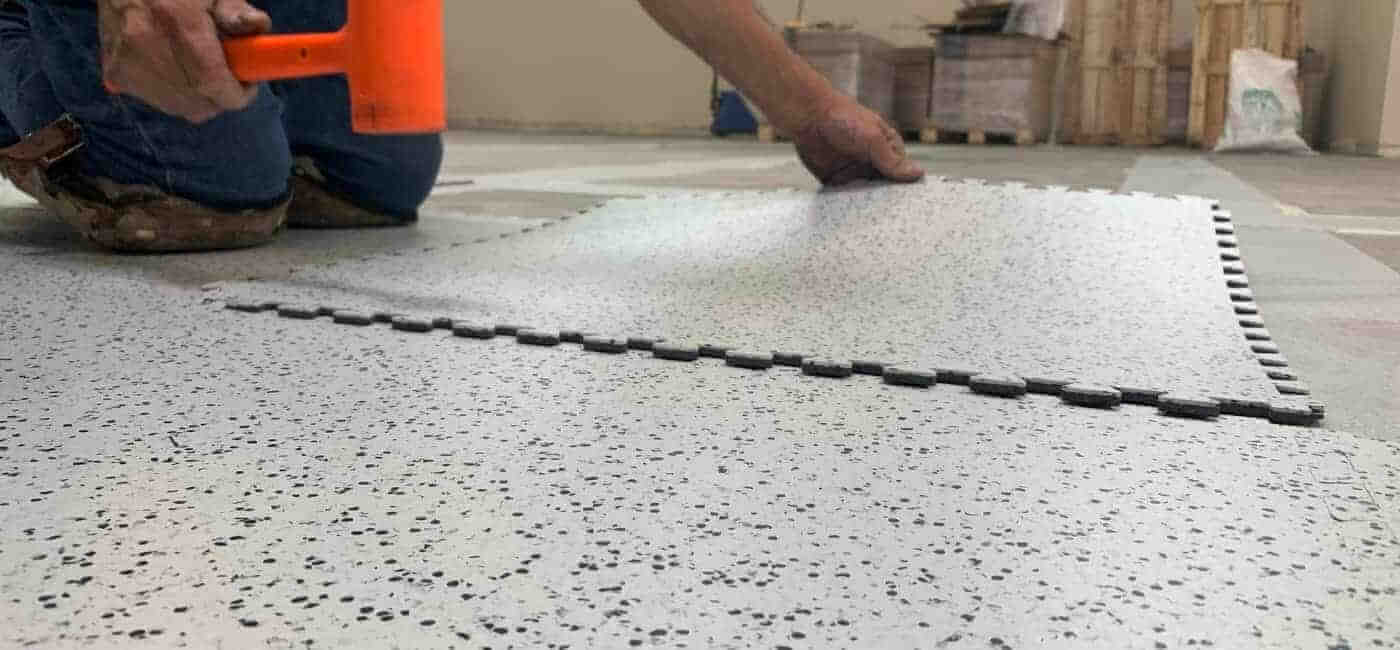
Dave: Next type of adhesive is a conductive pressure-sensitive adhesive. This is an adhesive that you allow to dry completely, so you can put your fingers on it, press down on it. And if you don’t get any transfer from the adhesive you’ve applied to the substrate onto your fingers, it’s time to lay tile.
You can see what the advantages to that adhesive will be. If it’s dry, that means you can put the tile down, roll it and you won’t get any seepage. To give you an example how that kind of adhesive can enhance the ability to get a job done: We worked a job in Wisconsin a few years ago; it was a 250,000 square-foot job. And the union contractor doing that job with four men was able to install 12,000 square feet of tile perfectly per day.
Think about that. That’s 3000 square feet per man – versus 1000 versus 800. So right away, when you’re looking at a project, one of the things you want to think about is – what’s the labor cost? What’s the cleanup cost, because with the pressure sensitive adhesive, it’s just soap and water to clean up when you’re done. If you do happen to get a little bit of seepage because some of the adhesive hadn’t dried, you can wash it off with a sponge.
So, you got three adhesives. Why wouldn’t you just use pressure-sensitive every time? Well, here’s the kicker, most ESD tile can’t be installed with pressure-sensitive adhesive, because most ESD tile will shrink if it’s not held down with either an acrylic or an epoxy adhesive. The last thing you want to do is go out and buy someone else’s adhesive and use it with a tile that it hasn’t been approved for. Any manufacturer of tile that you’re working with should be able to coach you on these adhesives. And they should also be willing to send someone out to the job site to make sure you’re using them right when you first start.
Rick: So conductive pressure-sensitive adhesive should be allowed to dry before laying tile, which helps a lot with some of the challenges associated with epoxy and acrylic adhesives, such as timing and seepage. As a result, pressure-sensitive requires the least amount of time to install with the potential for up to 3000 square feet per day for each installer. That reduces both the labor cost and the associated cost of operational downtime during the installation. However, pressure sensitive adhesive doesn’t prevent tile shrinkage the way that epoxy and acrylic adhesives do. So, it should only be used to install tiles that have a high degree of dimensional stability and only with the tile manufacturer’s approval.
We have discussed three different types of ESD adhesive, epoxy acrylic and pressure sensitive. Is there another installation method to consider?
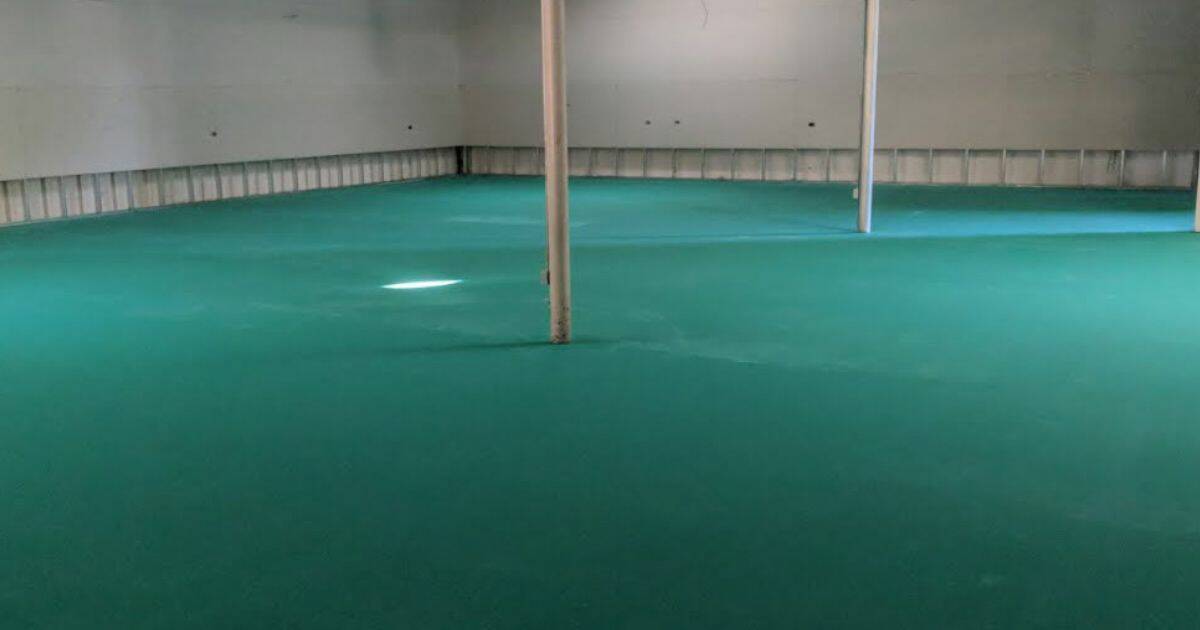
Dave: In our industry right now all the rage is flooring that doesn’t require adhesive. People call these floors interlocking floors; they call them floating floors. There’s any number of names. The beauty of these floors is that you don’t have to deal with a variable like dry time. What trowel to use? Is the humidity different today? Why isn’t the adhesive curing the way it did yesterday? So interlocking floors are a great solution for any number of situations where adhesive either can’t be used or if an adhesive won’t work.
A good application for interlocking flooring is any place where there’s a need for a vapor barrier. However, you want to evaluate – what does the interlocking floor cost me versus dealing with the vapor problem by applying a vapor barrier? The downside of the interlocking flooring is it costs more than traditional flooring. The upside, you can install it in an environment where you can continue to work. Because you don’t have to worry about chemicals or a lot of floor prep, dry times, you can immediately walk on it as soon as a tile is put in place.
Rick: So interlocking or floating floor installations do not require any adhesive and thus avoid the costly time and mess associated with adhesives. This method also means that vapor emissions from the concrete sub floor, which can break down adhesives over time, are not a problem for interlocking floors. On the other hand, the tiles themselves cost more per square foot than other types of ESD flooring. So clearly there are several factors including cost, time and environmental variables that will influence the decision of how to install an ESD floor. Is there one method that stands out as being the most cost-efficient, overall?
Dave: They all have their place. One isn’t necessarily better than others. However, given the four options, if there’s a way to make a pressure-sensitive adhesive work, that’s going to be your most effective option. And it’s also going to be your least costly option due to the advantages that it presents.
Rick: Dave, what advice do you have for someone who has to determine the best method of installation for their ESD floor?
Dave: Rick, if I could make one recommendation to a facility owner or even a general contractor, that would be that they should require someone from the tile manufacturer to show up on the job site before the job starts or right at the point of a job start. If there’s one common denominator in all flooring failures, it’s that the job started out incorrectly. And because no one was there to stop the job, it just continued that way and you just end up with a total failure.
We hope you learned something today. If you have questions about the podcast, give us a call at 617-923-2000. Even though we specialize in solving problems with flooring, if you have a question about static discharge, how to install a floor, or how to test the floor, we’ll be glad to help you. Thanks for listening.