How the ShadowFX Grounding System Works
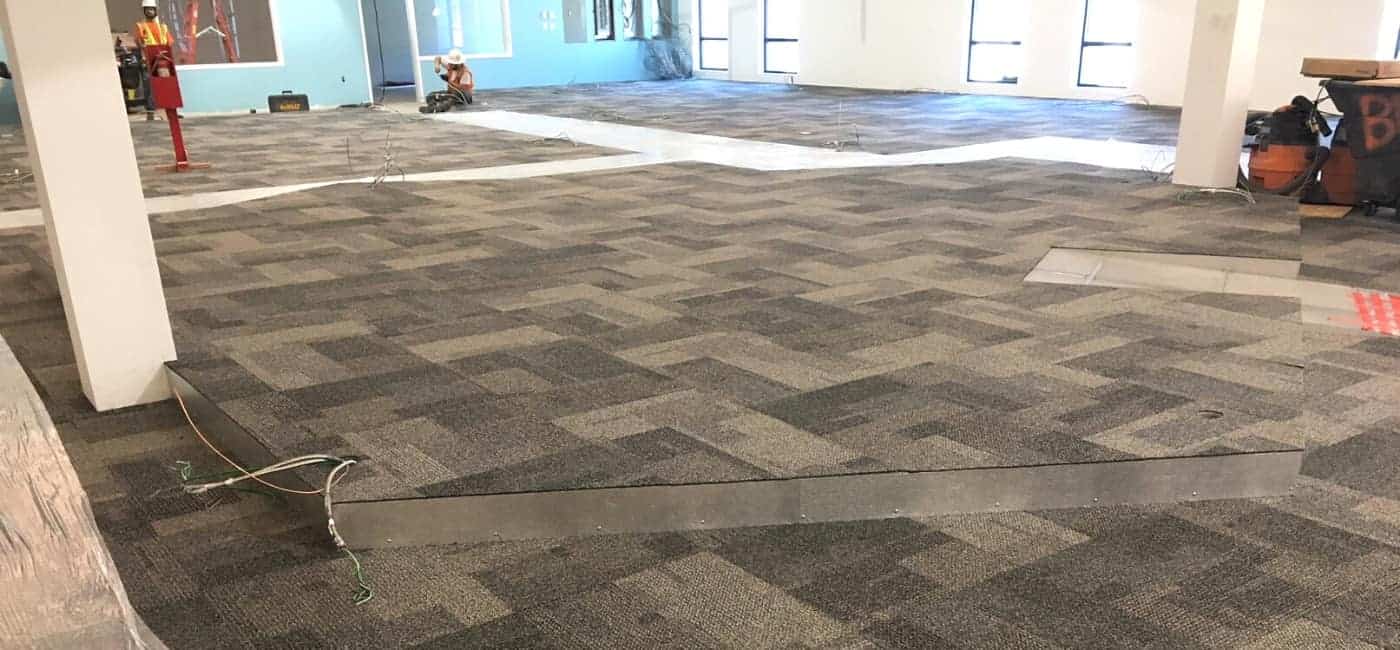
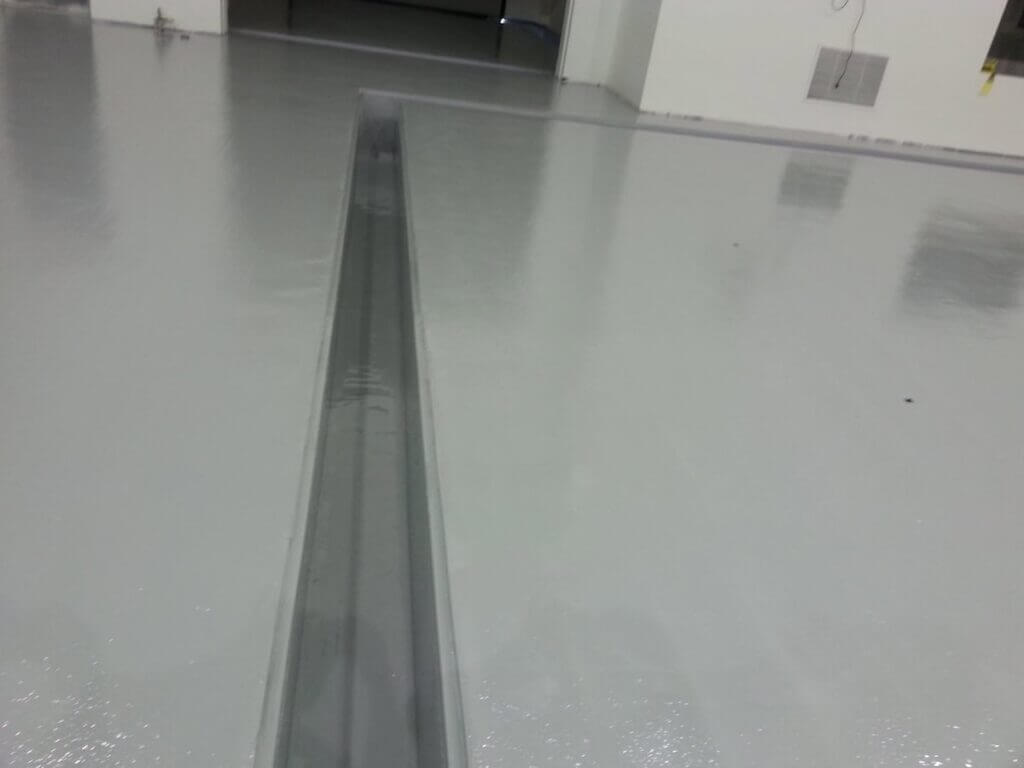
ShadowFX Carpet Tiles can be installed over most any existing floor, such as access floors (over bare metal panels or over conductive surfaces like high pressure laminate), ESD epoxy, ESD vinyl tile, bare concrete (with or without moisture issues), and painted and other non-conductive surfaces.
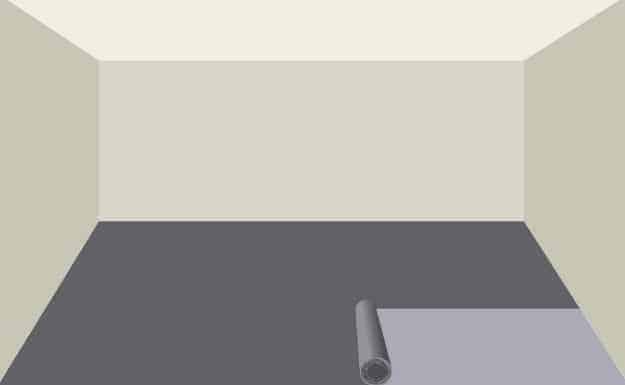
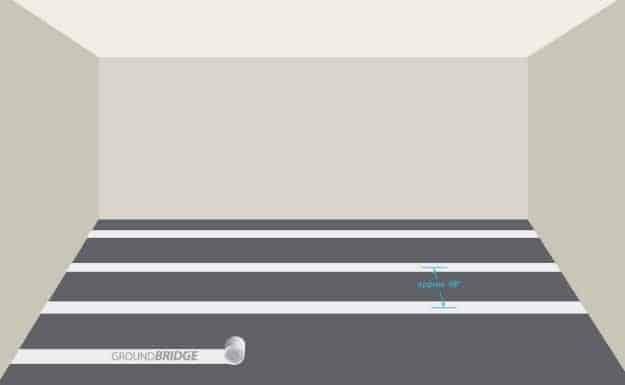
GroundBridge forms a uniform ground plane over any non-conductive floor. It’s a thin, lightweight material composed of conductive cellulose. Available in 12″ rolls, GroundBridge is rolled out over your existing floor in a stripe pattern with the strips spaced 36″ apart (48″ on center). Quick, no mess, and ESD safe.
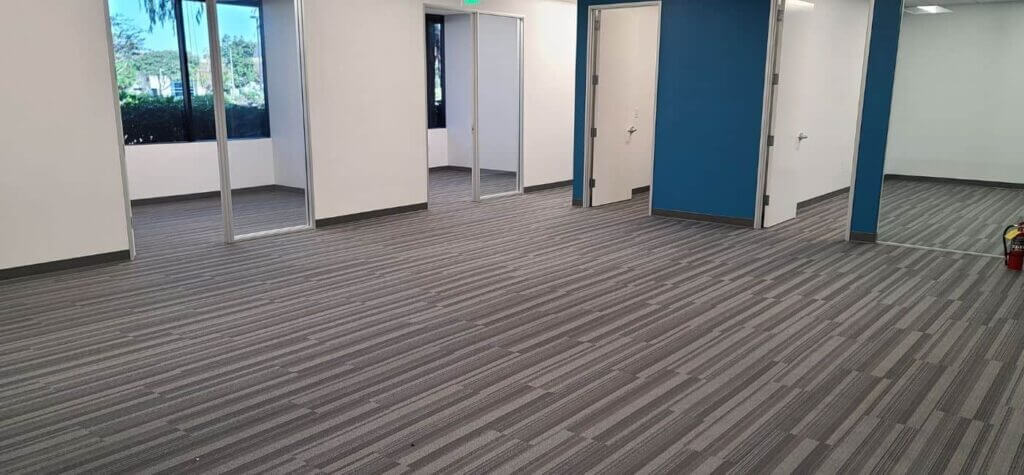
Tactiles join together ShadowFX Carpet Tiles at their corners, to create a floating floor. Simply position and stick. Tactiles create a strong bond that locks carpet tiles together along a horizontal plane, but allow for a quick release vertically by pulling up on a single tile. Easily and quickly replace and reposition worn or damaged tiles.
Installation

Step 1: Prepare your subfloor.
Prepare your subfloor by cleaning it, removing or repairing any imperfections, and removing any waxes or polishes. If you have moisture issues with your subfloor, proceed to Step 2. Otherwise, skip this step and go to Step 3.
Step 2 (Optional): Prepare your subfloor.
Follow the installation directions and install MoistureGard over your subfloor
Step 3. (Optional): Install GroundBridge.
If you are installing ShadowFX Carpet Tile over a conductive subfloor such as bare metal access floor panels, ESD epoxy, or ESD vinyl tile, then you don’t need to install GroundBridge and can proceed to Step 5.
Available in 12″ width rolls, lay GroundBridge out in strips parallel with the room’s longest dimension. Strips should be spaced approximately 36″ apart (48″ on center) so that they will be positioned underneath every other seam, thereby making contact with every row of 24″ carpet tiles.

Step 4 (Optional): Finish installing GroundBridge by positioning strips along outside edges of floor.
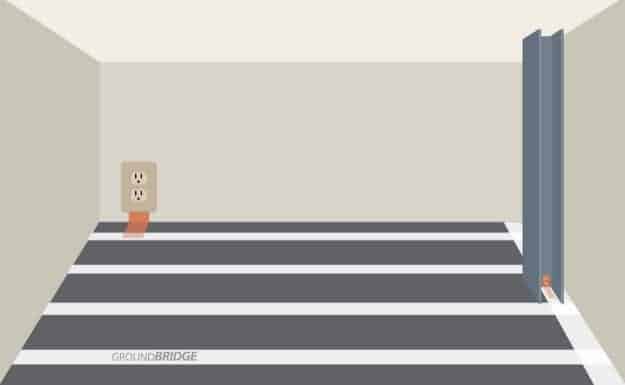
One strip of GroundBridge should be added along one edge of the room that runs perpendicular to the strips installed in Step 3, that connects all of the strips. This strip will connect all of the ends of the strips at the room’s edge, making a unified ground plane above your subfloor.
Step 5: Ensure that your GroundBridge (or conductive subfloor) is properly grounded.
Your GroundBridge needs to be properly grounded by using strips of 24″ copper tape. Copper strips need to be installed at a frequency of 1 copper strip for every 1000 sq. ft. of floor space (generally one strip of copper tape per room). At least 2 inches of copper strip should contact a groundbridge strip (or your conductive subfloor). The copper tape has a self-adhesive backing to hold it in place.
- Option 1: Install copper strip by attaching one end to a grounded electrical outlet.
- Option 2: Install copper strip by attaching one end to a grounded metal structure such as an I-beam.
Step 6: Install ShadowFX Carpet Tiles using Tactiles
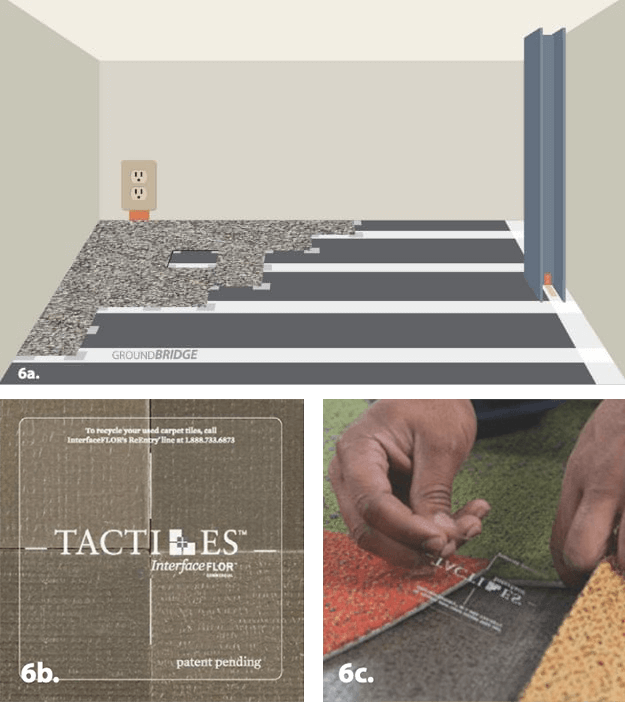
Position carpet tiles onto subfloor (and GroundBridge if used). Individual tiles can be removed easily by pulling upward in the middle of its edges (fig. 6a.).
Connect four tiles together using TacTiles by joining the four corners where they meet. (figs. 6b. and 6c.)
Two adjacent tiles at the room’s edge should be connected at their touching corners (in this instance, one TacTile to connect two corners).
Step 7: Test Completed Installation
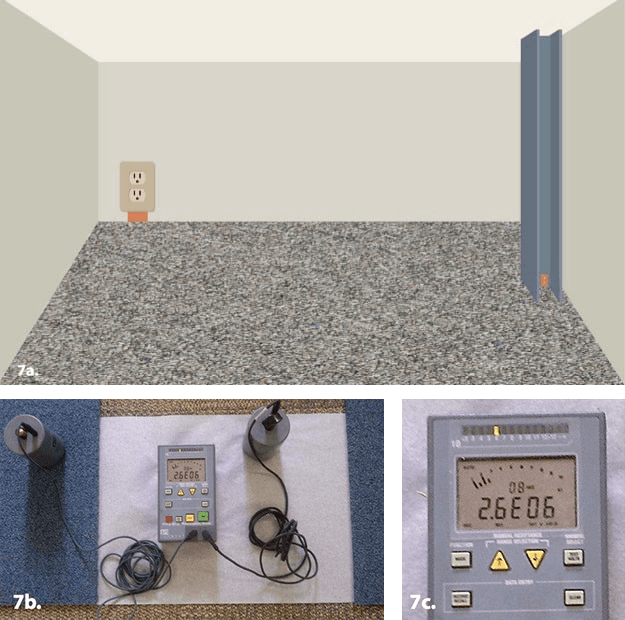
Finished floor (fig. 7a.) should be tested for electrical resistance using an ohm meter. To be certified ESD-safe, nine or more readings should be made with electrodes placed 1 foot apart (fig. 7b.). Using an applied voltage of 100V, the finished floor should measure 1.0 x 10E6 – 1.0 x 10E8 ohms (fig. 7c.).
Explore Our ShadowFX Collections


ShadowFX Carpet Tiles InstallationFrequently Asked Questions
Can ShadowFX carpet tile be installed over existing floors?
Yes. ShadowFX carpet tiles can be installed over most existing floors, including access floors, ESD epoxy, ESD vinyl tile, bare concrete (with or without moisture issues), painted floors, and other non-conductive surfaces. The system adapts using GroundBridge when needed.
When is GroundBridge required?
GroundBridge is required when installing ShadowFX over non-conductive subfloors. If the subfloor is already conductive—such as bare metal access floor panels or ESD-rated flooring—GroundBridge is not necessary.
How does GroundBridge create an ESD-safe floor?
GroundBridge forms a uniform conductive ground plane above non-conductive subfloors. Installed in spaced strips beneath the carpet tile seams, it ensures continuous electrical contact across the floor and provides a controlled path to ground.
How is the floor grounded?
GroundBridge (or a conductive subfloor) is grounded using 24″ copper tape, installed at a rate of one strip per 1,000 sq. ft. Copper tape can be connected to a grounded electrical outlet or a grounded metal structure, such as an I-beam.
Are adhesives required to install ShadowFX carpet tiles?
No. ShadowFX carpet tiles are installed as a floating floor using Tactiles. These connect tiles at the corners to lock them horizontally while allowing individual tiles to be lifted and replaced without disturbing surrounding tiles.
How is the finished installation tested for ESD compliance?
After installation, the floor is tested for electrical resistance using an ohm meter in accordance with ANSI/ESD STM 7.1. Using a 100V test voltage, the floor should measure 1.0 × 10⁶ to 1.0 × 10⁸ ohms, with multiple readings taken across the space.

Ready to Eliminate Static Risk?
When your facility’s protection depends on getting it right the first time, choose
the company with an unmatched track record. We’re standing by to assist you.
Static-Control Education at Your Fingertips
Explore the StaticWorx Knowledge Center for technical articles, videos, and guides to help you specify, install, and maintain ESD flooring with confidence.